TaxMingle allows CPAs to organize documents efficiently using folders and subfolders. Follow the steps below to create your own folder structure.
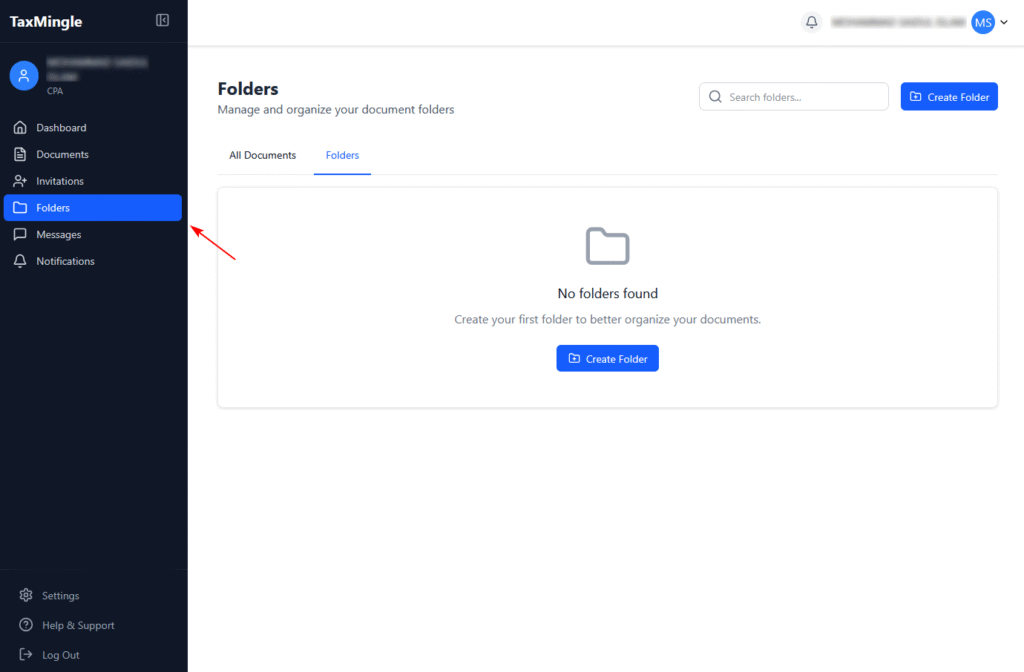
Step 1: Navigate to the Folders Section
From your left-hand sidebar, click on Folders to enter the document management view.
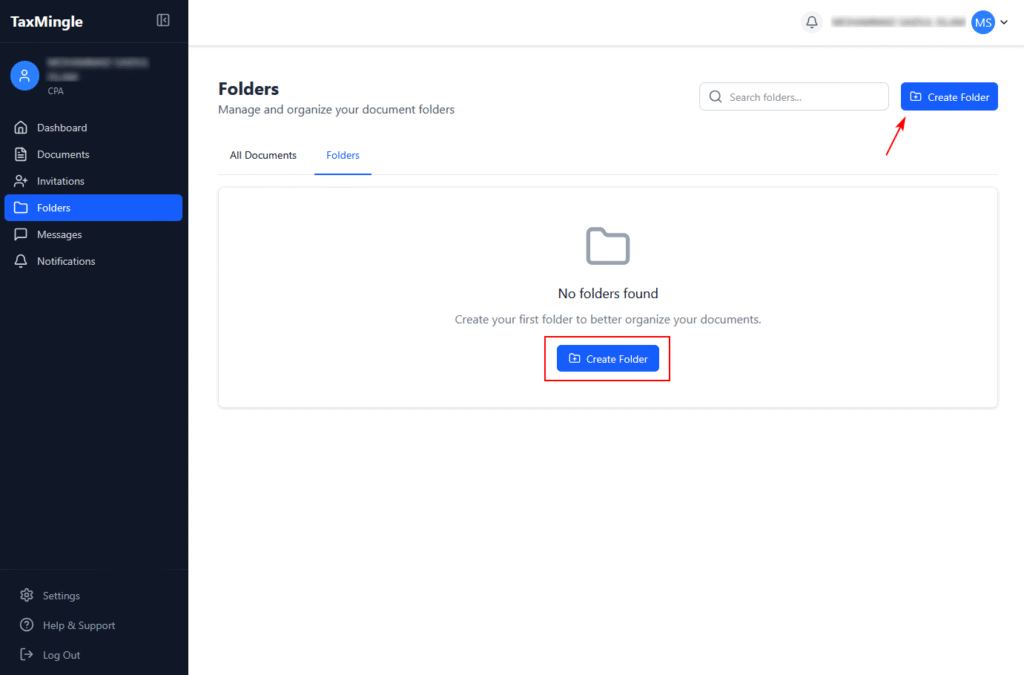
Step 2: Click the “Create Folder” Button
Click the Create Folder button. You can find this at the top-right of the screen, or in the center if you have no folders yet.
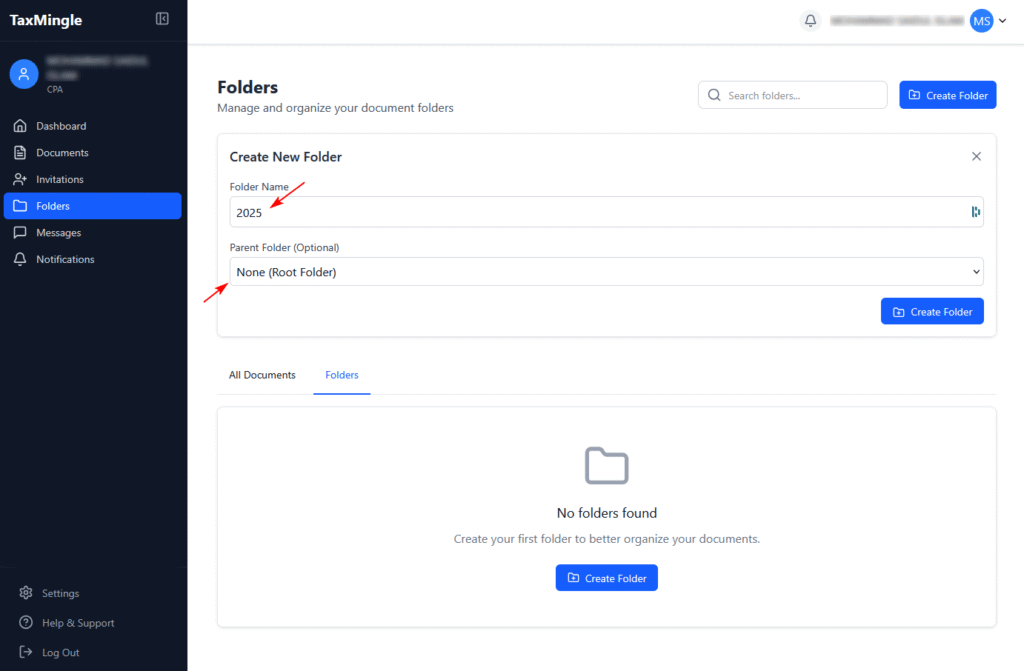
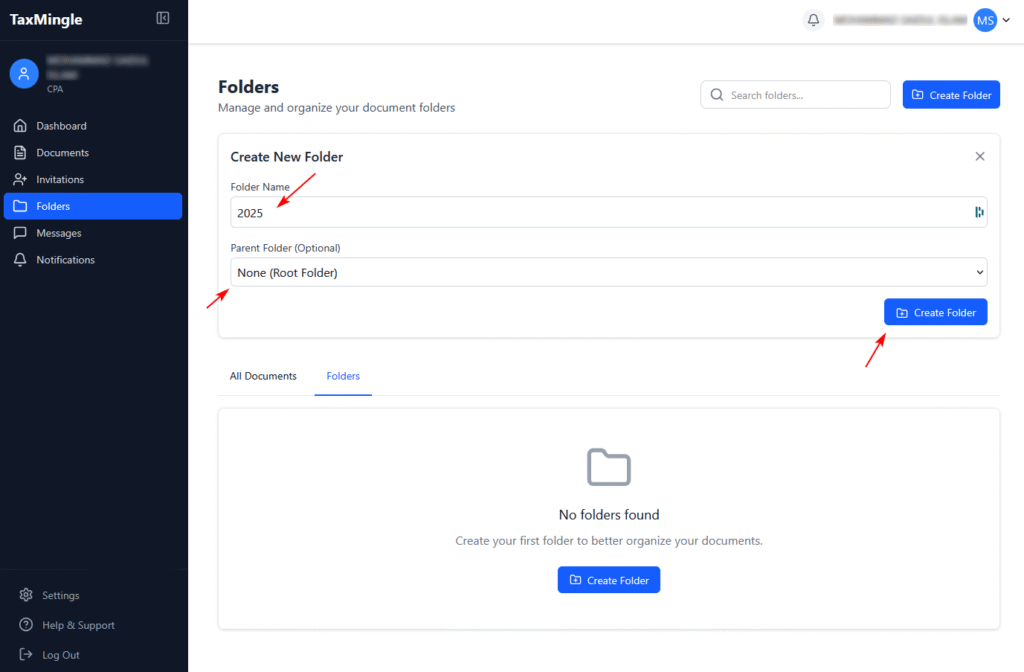
Step 3: Fill in the Folder Details
A form will appear titled Create New Folder.
- Enter your folder name (e.g.,
2025). - Leave Parent Folder as “None (Root Folder)” to make it a top-level folder.
Step 4: Click the “Create Folder” Button
After entering the name, click the Create Folder button to finish.
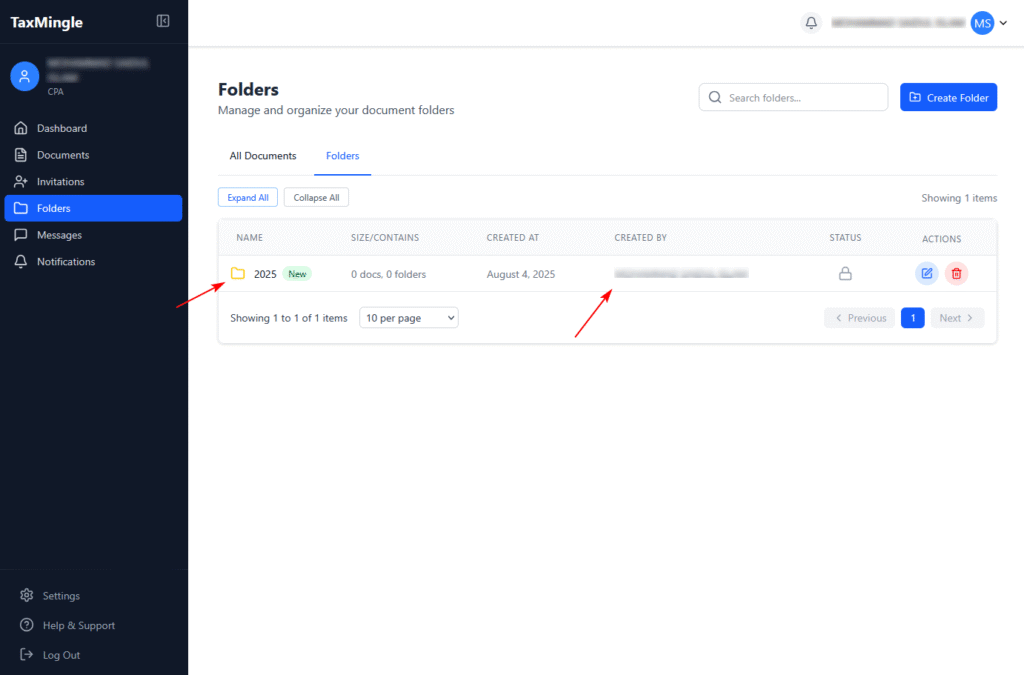
Step 5: View Your New Folder
Your new folder will appear in the list below, including name, creator, and status.
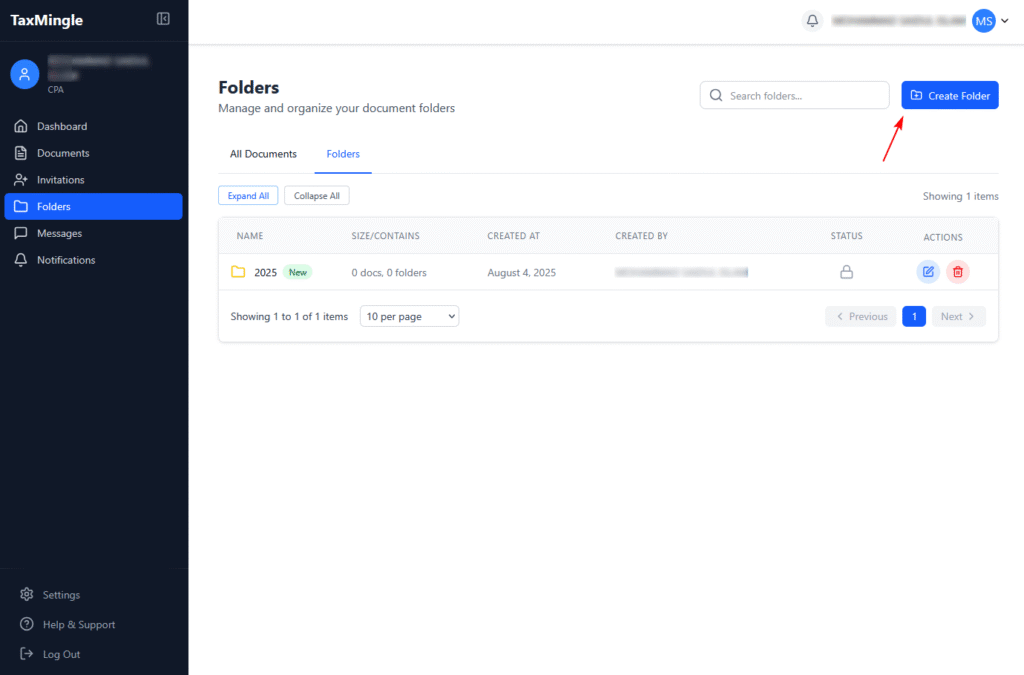
Creating a Subfolder
Subfolders help you break down content further (e.g., by month or task).
Step 6: Open the Create Folder Form
Click Create Folder once more from the top-right of the screen.
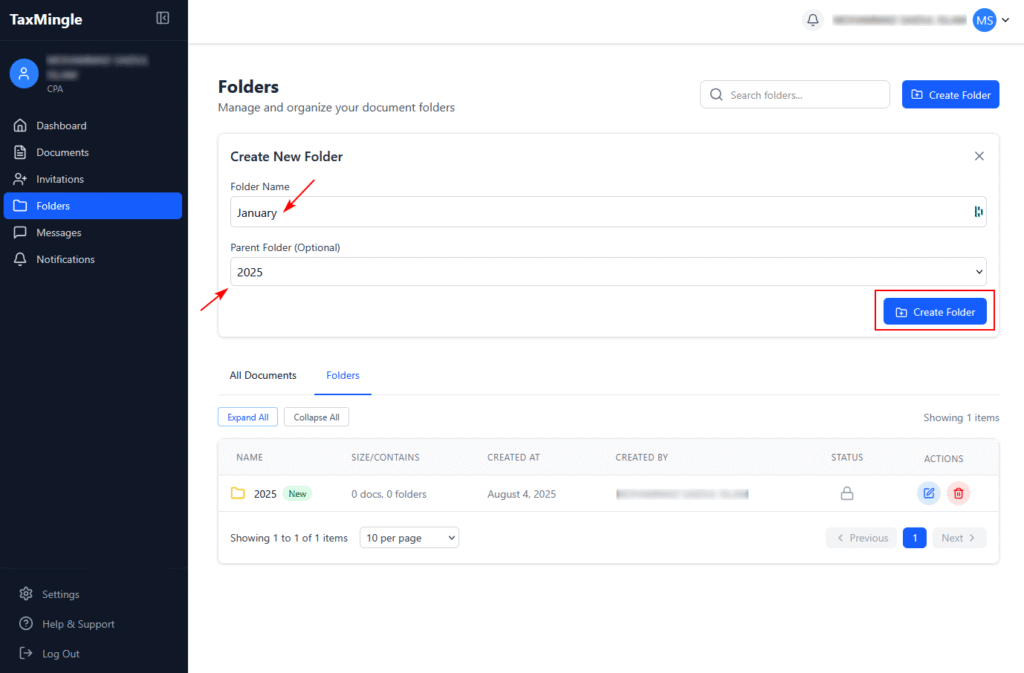
Step 7: Enter Subfolder Name and Choose Parent to Create the Subfolder
- Set the folder name (e.g.,
January). - From Parent Folder, choose the folder you just created (e.g.,
2025). - Click the Create Folder button to Create the Subfolder. The subfolder will now be nested.
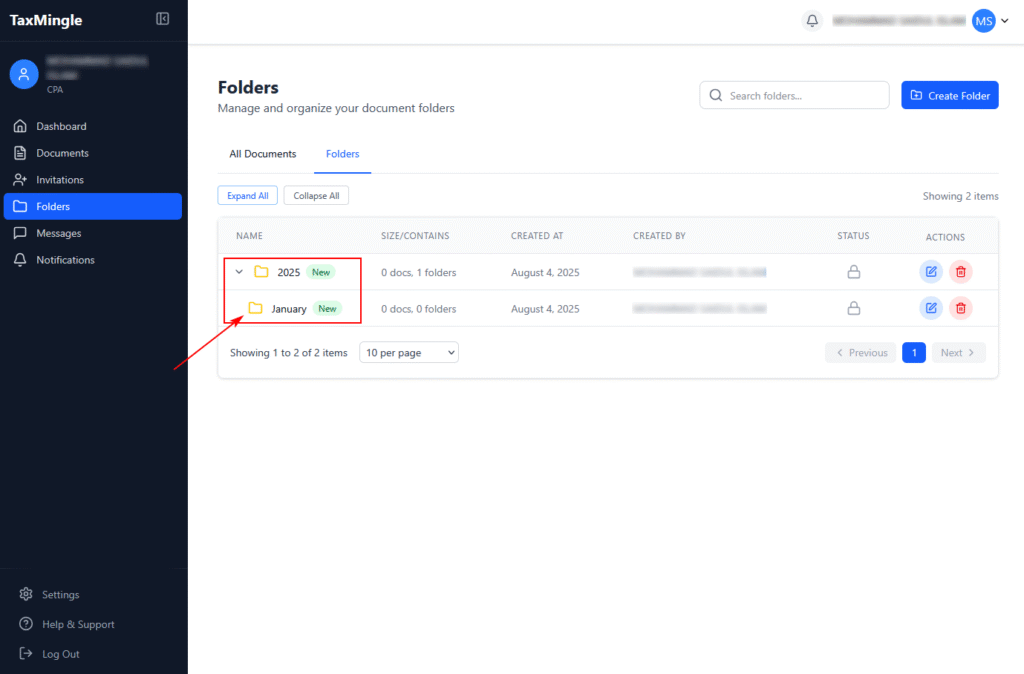
Step 8: View the Folder Hierarchy
Click the arrow beside the parent folder to expand and see its subfolders.