In TaxMingle, the Settings section allows CPAs to manage personal account details, update security preferences, configure organization-level settings, and view or update billing plans — all from one central location.
1. Accessing the Settings
To begin, click Settings in the left-hand sidebar of your TaxMingle dashboard.
This will take you to a page with four main tabs:
- Profile
- Security
- Organization
- Billing & Plans
Each of these sections is explained below.
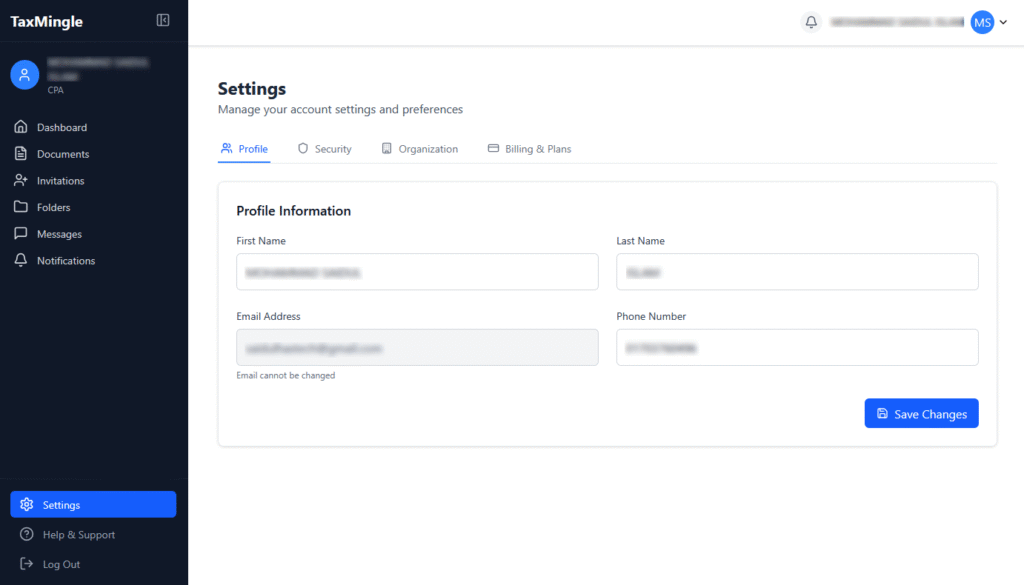
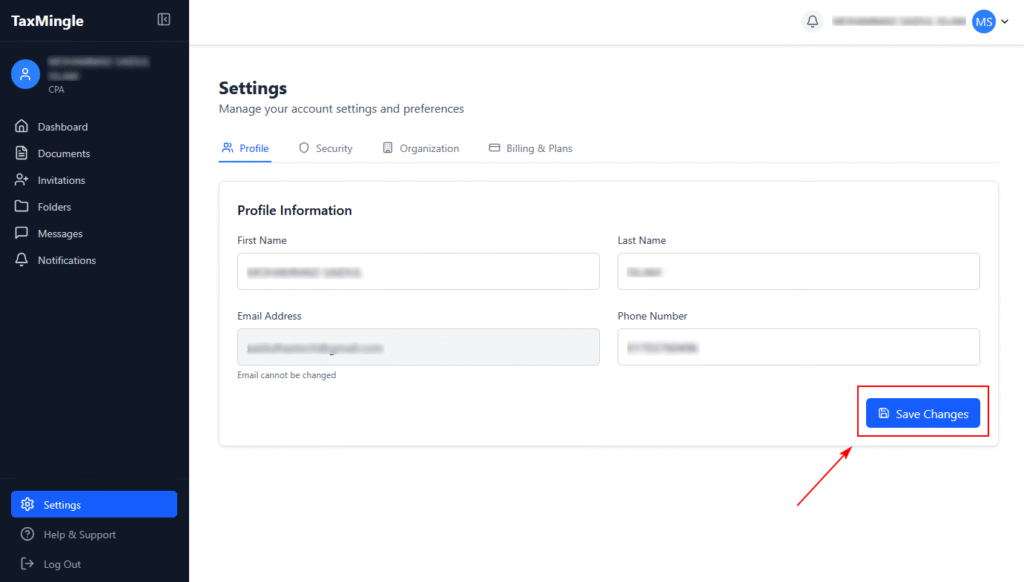
2. Profile Settings
In the Profile tab, you can:
- Update your full name
- Set or update your phone number
Once changes are made, click the Save Changes button to apply updates.
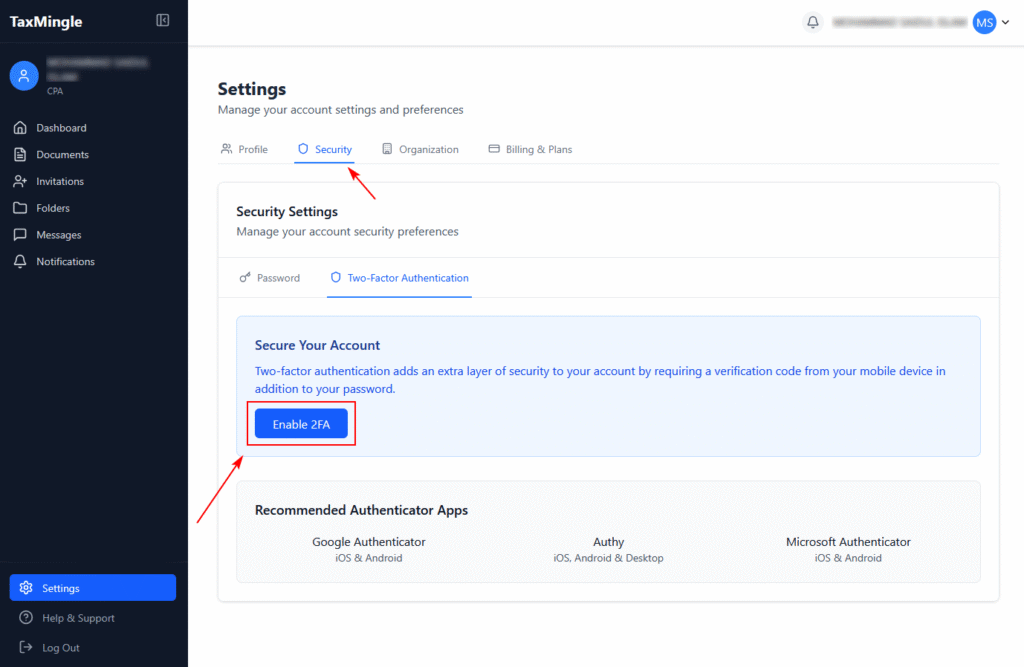
3. Security Settings
The Security tab helps protect your account. Here you can:
- Change your password: Enter your current and new password to update.
- Enable Two-Factor Authentication (2FA): Click the toggle to activate 2FA for added security. You’ll be prompted to scan a QR code using an authenticator app like Google Authenticator or Authy.
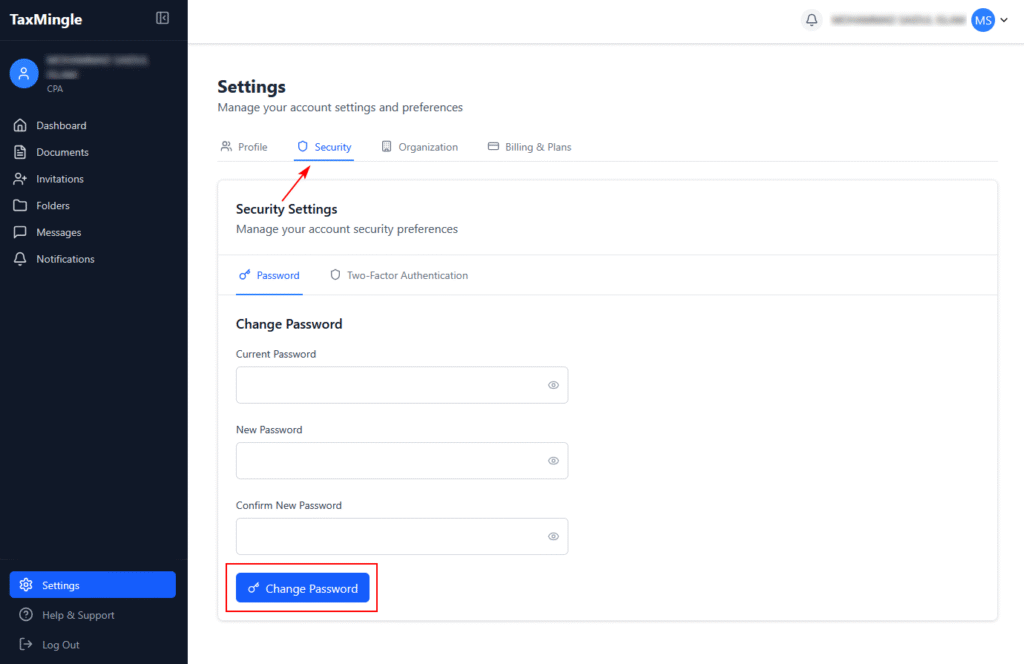
🛡️ We strongly recommend enabling 2FA to protect sensitive financial data.
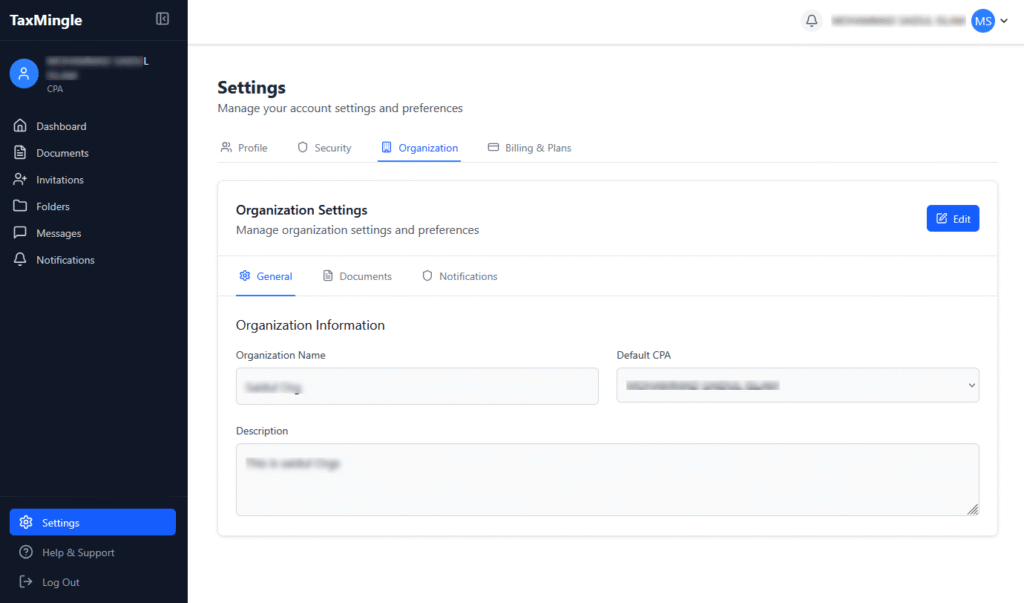
4. Organization Settings
The Organization tab is where you manage organization-level controls and team preferences.
It contains three subtabs:
A. General Settings
Update your organization name, company and basic business info.
B. Document Permissions (Subtab: Documents)
Here you can configure how clients interact with uploaded documents:
- Allow clients to edit their own documents
Clients can modify the documents they uploaded. - Allow clients to delete their own documents
Clients can permanently delete their own uploads. - Require approval for client uploads
CPA/Admin must approve documents before they’re processed. - File Settings
Maximum File Size (MB): Set the max upload limit (e.g., 50MB). - Allowed File Types: Check/uncheck extensions such as
.pdf,.docx,.xlsx,.jpg,.jpeg,.png,.txt, and.csv.
Use the Edit button to make changes, and click Save to confirm.

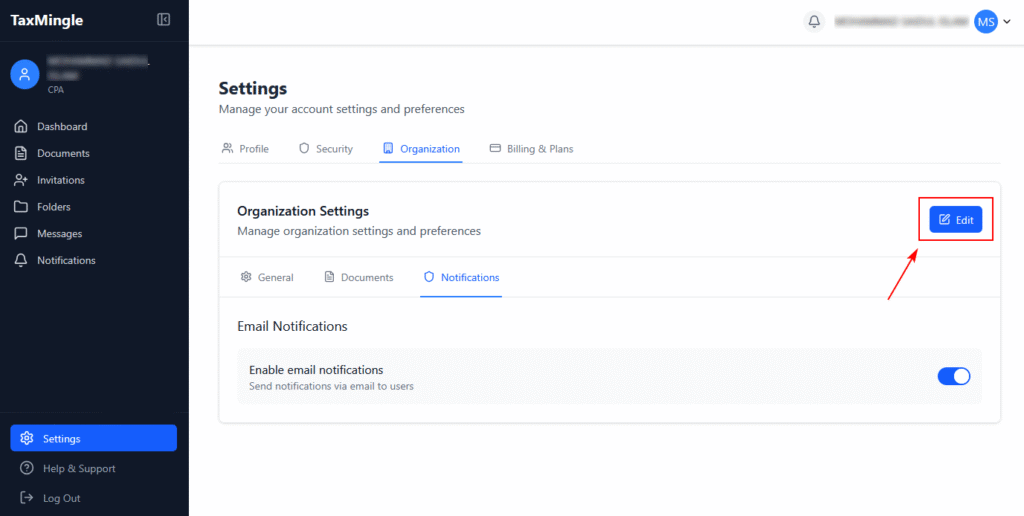
C. Email Notifications (Subtab: Notifications)
- Enable Email Notifications: Toggle on to send activity alerts and updates via email to your team or clients.
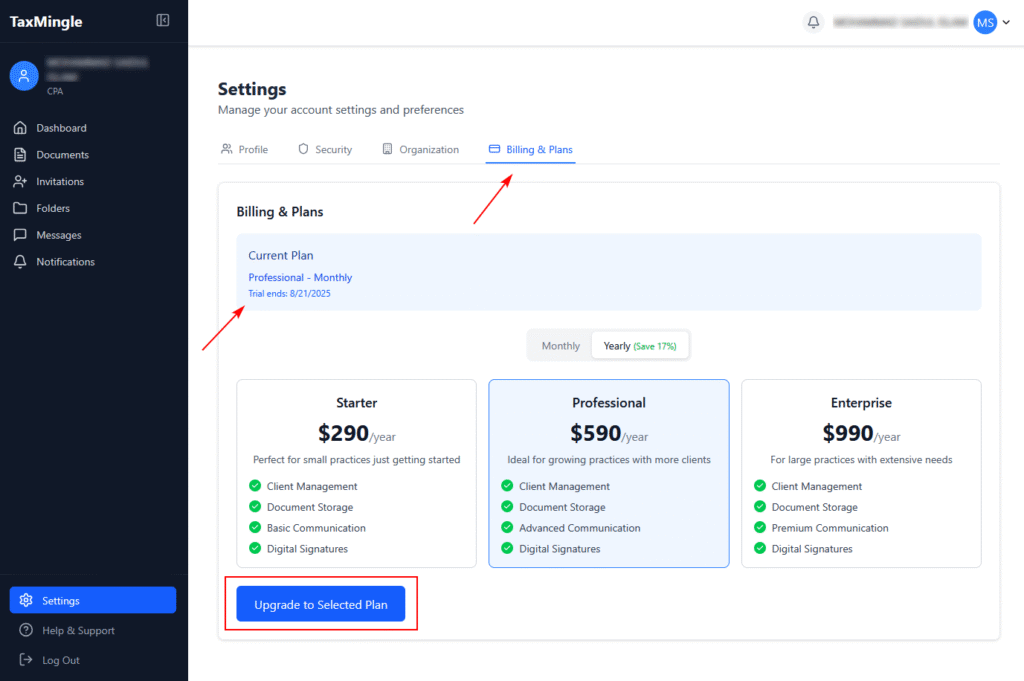
5. Billing & Plans
Under Billing & Plans, you can:
- View your current subscription plan (e.g., Monthly or Yearly)
- See your plan’s features and limits
- Switch plans or upgrade if needed
To change your plan, simply click the Change Plan or Upgrade button and follow the prompts.