TaxMingle makes it easy for CPAs to expand their workspace by inviting both clients and teammates (such as other CPAs or staff) to join their organization. Each invited user receives a secure registration link and gets linked to your account for smooth collaboration.
Follow the steps below to send invitations using the Invitations feature:
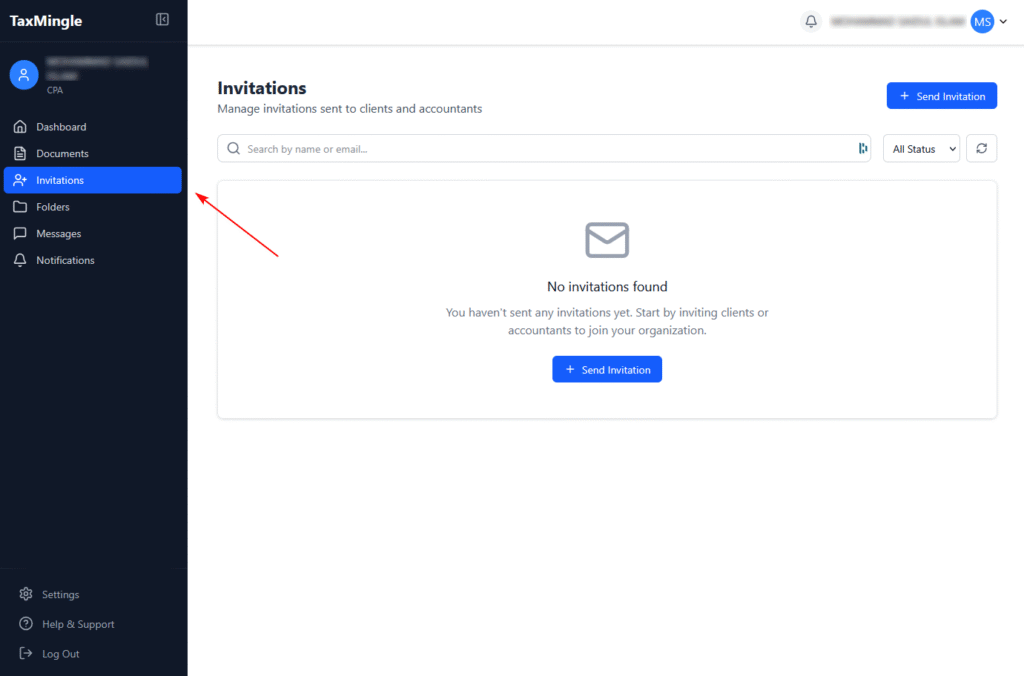
Step 1: Navigate to the “Invitations” Tab
Sidebar → Invitations
From your dashboard, locate the left-hand sidebar and click on “Invitations.”
This section allows you to invite both clients and teammates (other CPAs or staff) to your TaxMingle organization.
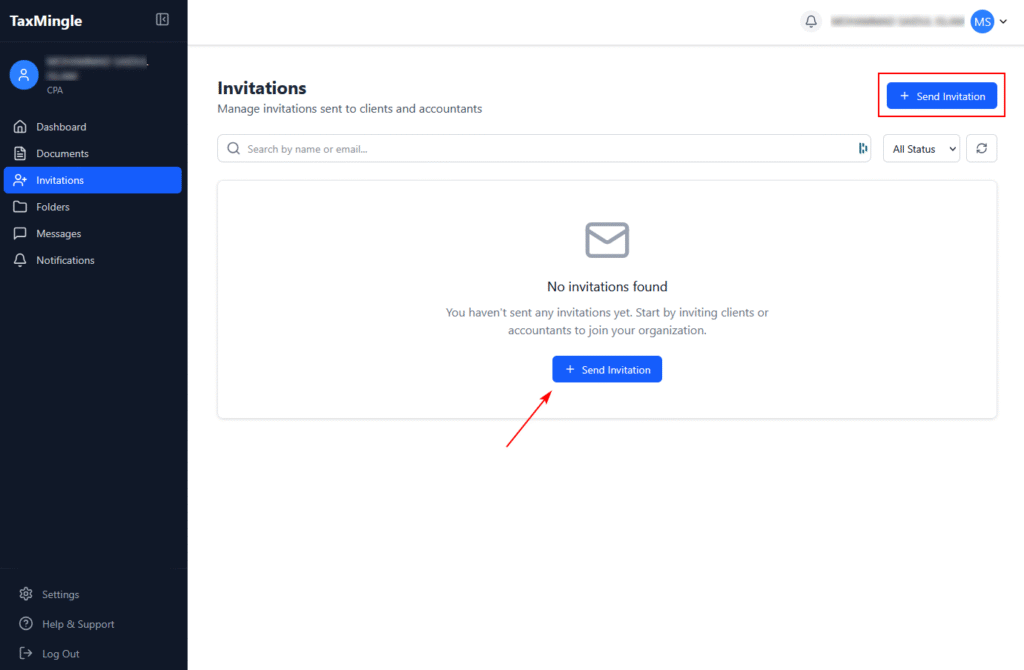
Step 2: Click “Send Invitation”
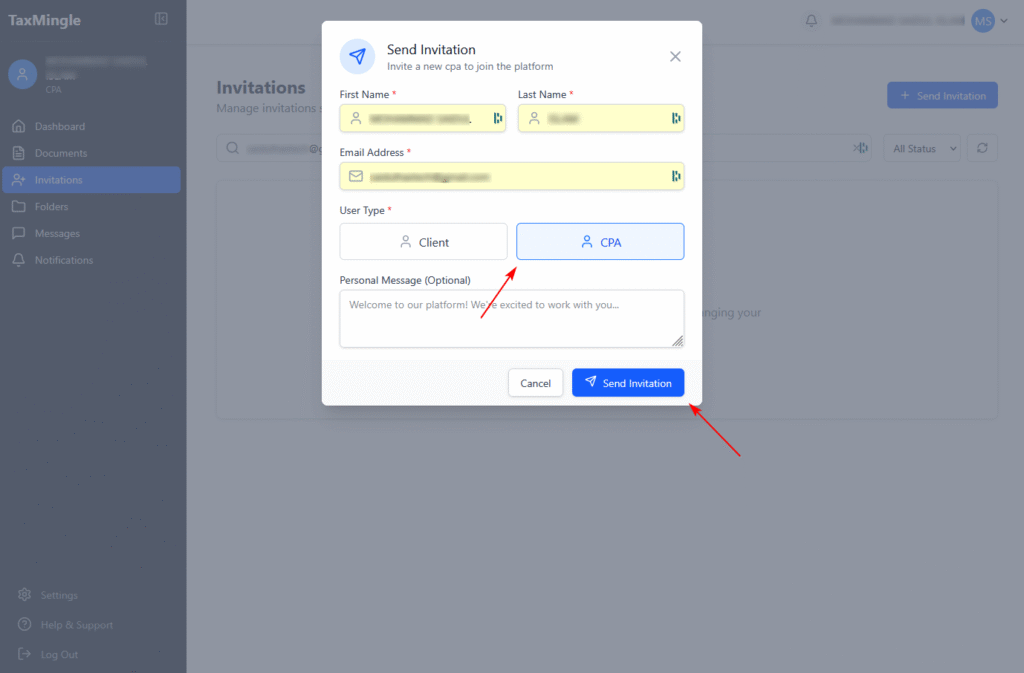
At the top-right corner, click the “Send Invitation” button. A pop-up form will appear where you can enter your client’s or teammates (other CPAs or staff) details.
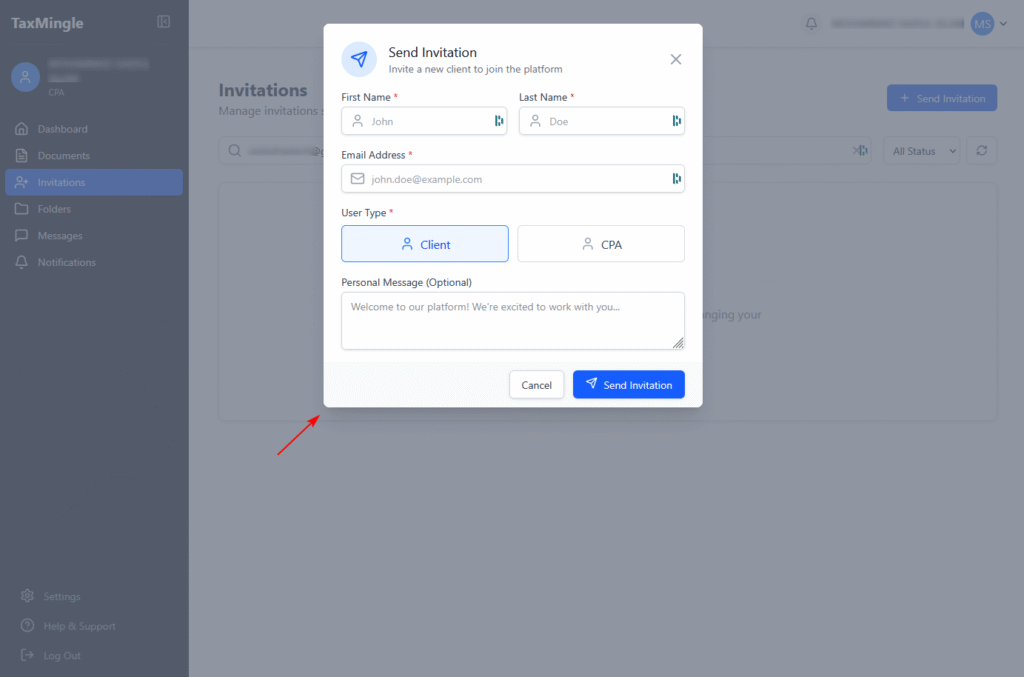
Step 3: Fill in Client or CPAs Information
In the form, provide the following required information:
- Client Name – Enter the full name of the client
- Email Address – Enter a valid email the client uses
- (Optional): Add notes
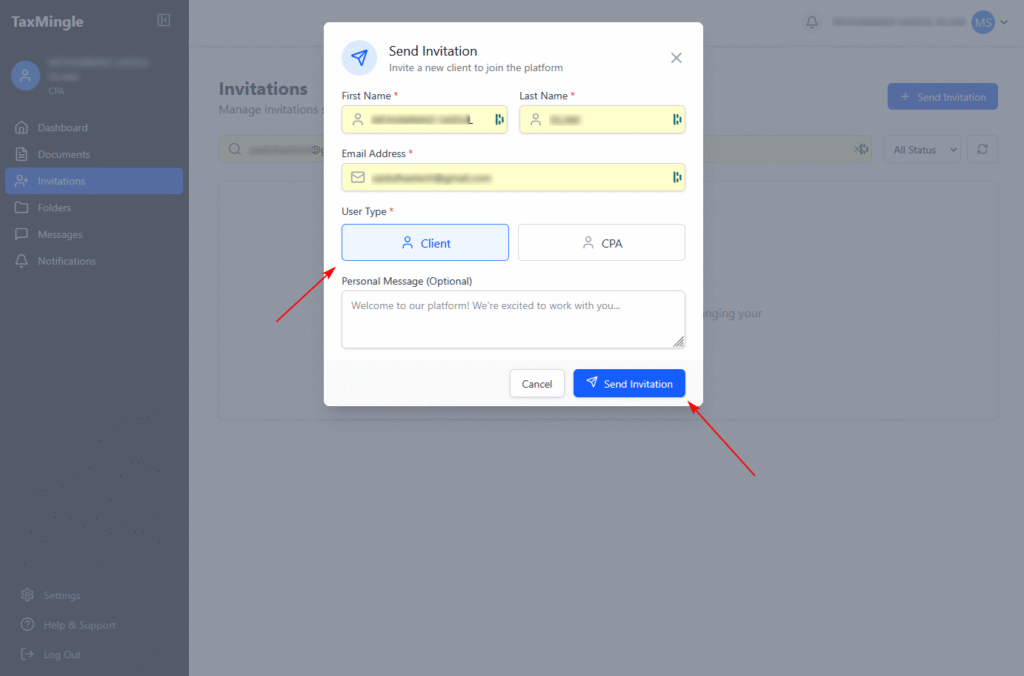
Once complete, click “Send Invitation.”
- CPA Name – Enter the full name of the CPA
- Email Address – Enter a valid email the CPA uses
- (Optional): Add notes
Once complete, click “Send Invitation.”
Step 4: Invitation Email Sent
The client will receive an email from TaxMingle with a unique registration link.
- Once they click the link, they’ll be guided to complete their profile and create a password
- After registration, they’ll be automatically linked to your CPA workspace
- You’ll be able to immediately share documents and assign files
Track Pending or Accepted Invitations
Back on the Invitations tab, you can:
- View invitation status (Pending, Accepted, Expired,cancelled)
- Resend or cancel invitations as needed
- Sort and manage client invites by status
Tips for a Smooth Invitation Process
- Double-check the client’s email before sending
- If the client hasn’t received the email, ask them to check their Spam or Promotions folder
- You can resend the invite at any time from the Invitations tab