This guide will help you upload tax documents, assign them to clients, and organize them into folders for better document management in TaxMingle.
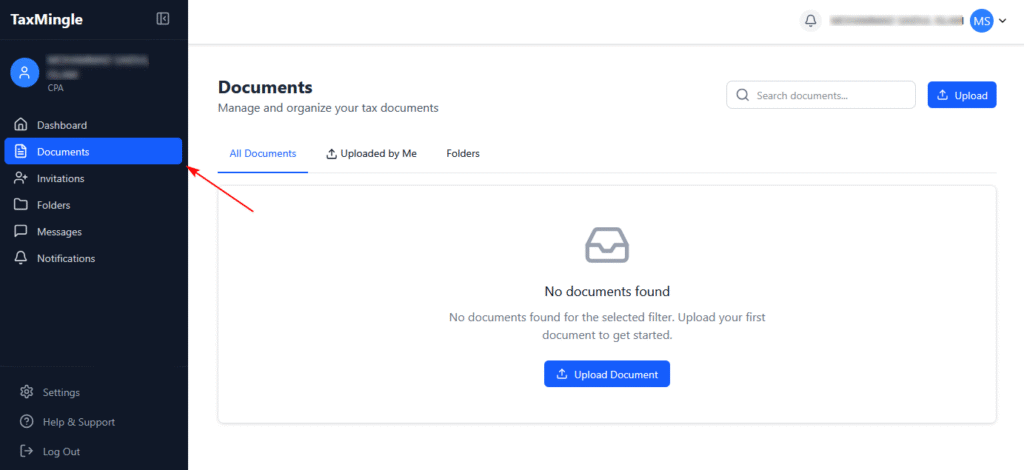
Step 1: Navigate to the Documents Tab
From the left sidebar, click on Documents.
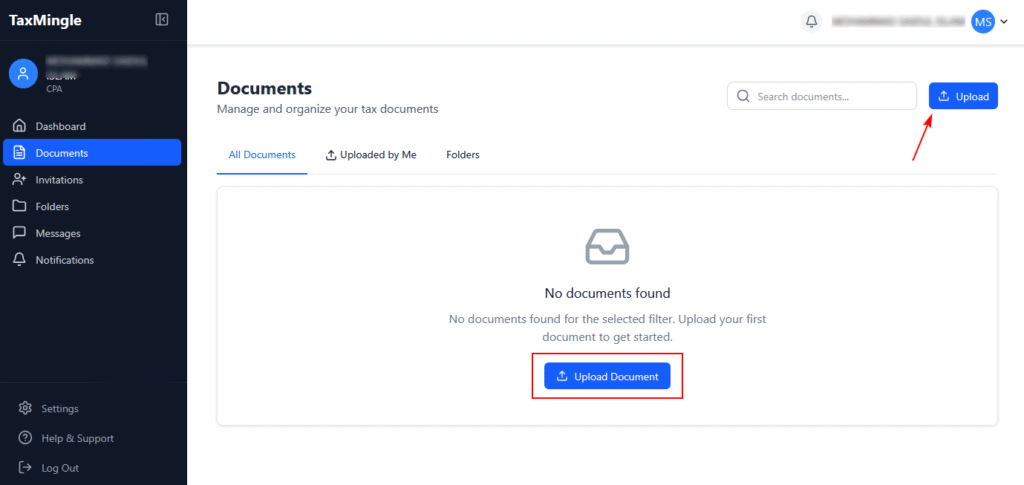
Step 2: Click the Upload Button
Click the Upload button at the top right or the Upload Document button in the center if no documents exist yet.
Step 3: Upload Your File
You can drag and drop a file or click to browse and upload it. Supported formats: PDF, JPG, JPEG, PNG.
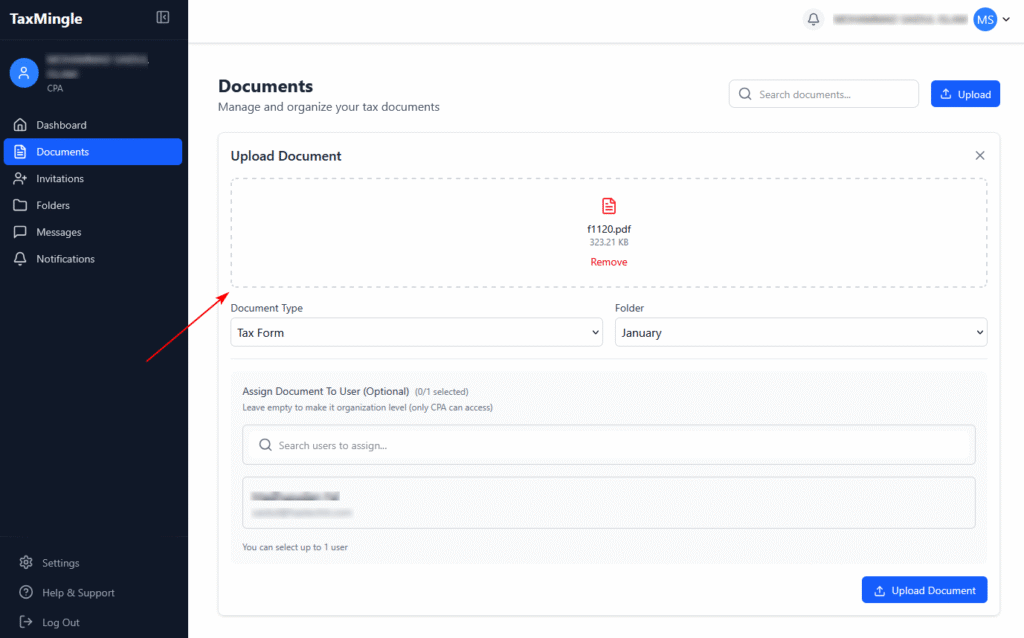
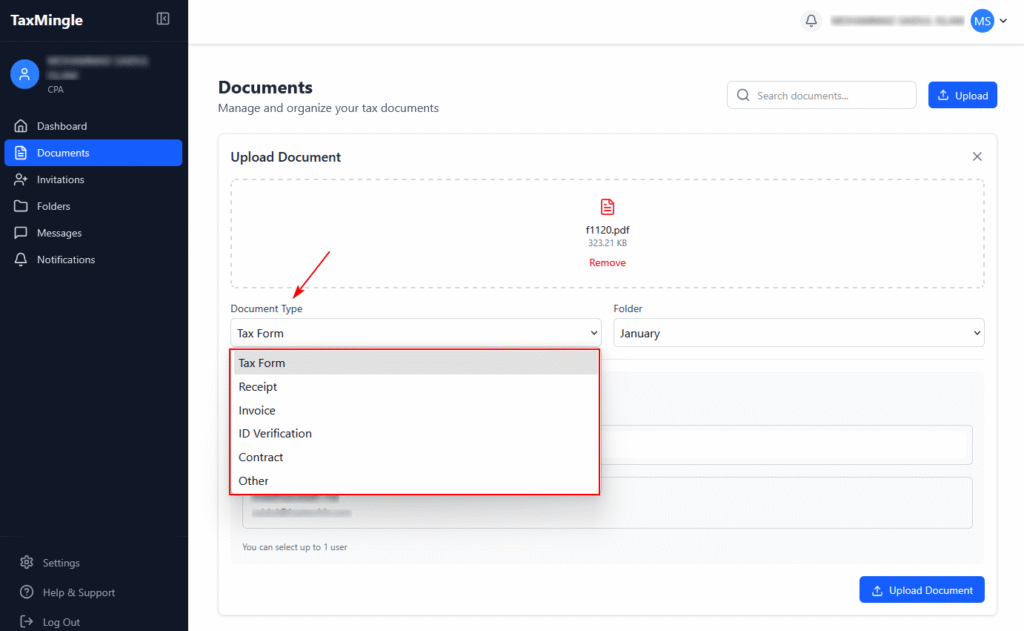
Step 4: Choose a Document Type
From the dropdown labeled Document Type, choose the appropriate category for your file (e.g., Tax Form, Invoice, Receipt, etc.).
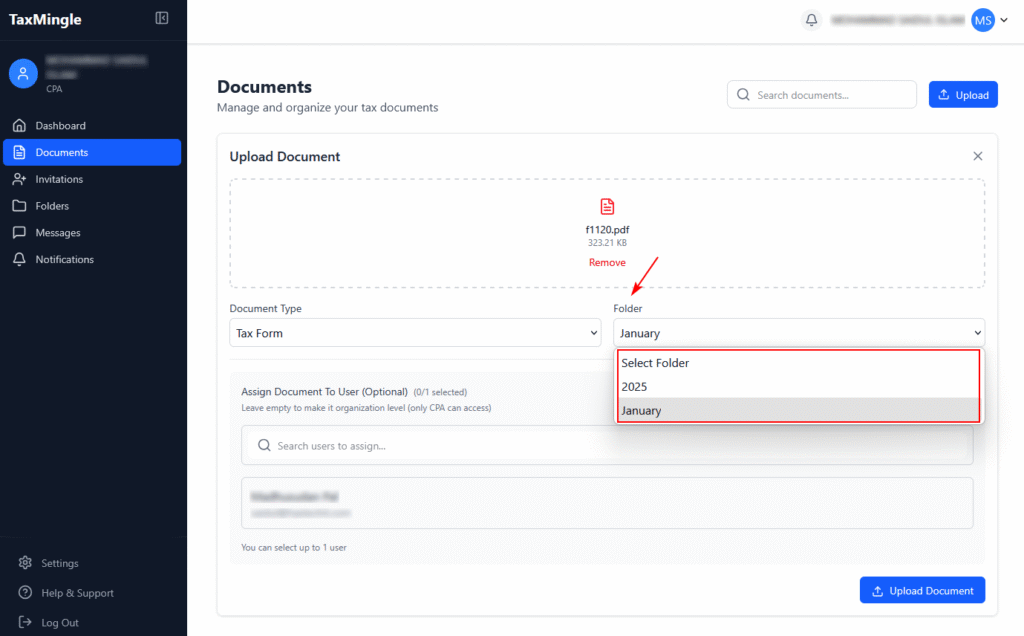
Step 5: Select or Create a Folder
Choose the folder where the document will be stored. If folders like “2025” or “January” already exist, you can select them.
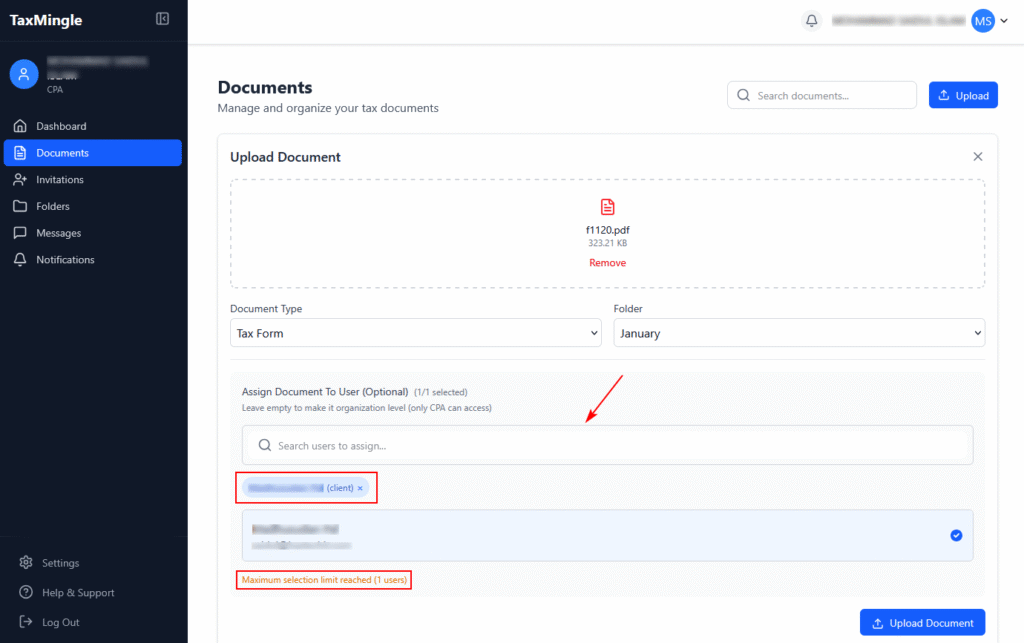
Step 6: Assign the Document to a Client (Optional)
Use the search bar under Assign Document To User (Optional) to find and select the client the document belongs to. You can assign it to one client only. Leave this empty if the document is for internal (organization-level) use.
Step 7: Upload the Document
Once everything is set, click the Upload Document button at the bottom right to complete the upload.

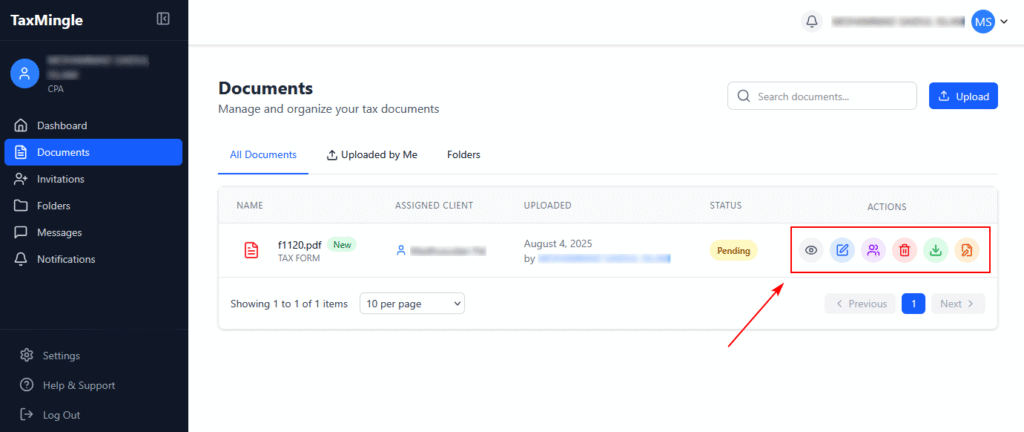
Step 8: View and Manage Uploaded Documents
After uploading, your document will appear in the list with the assigned client, status (e.g., Pending), and several action buttons:
- 👁️ View
- ✏️ Edit
- 👤 Assign
- 🗑️ Delete
- ⬇️ Download
- 🖋️ Edit PDF