Category: For Clients

  • How to Manage Your Profile and Enable Two-Factor Authentication (2FA) in TaxMingle

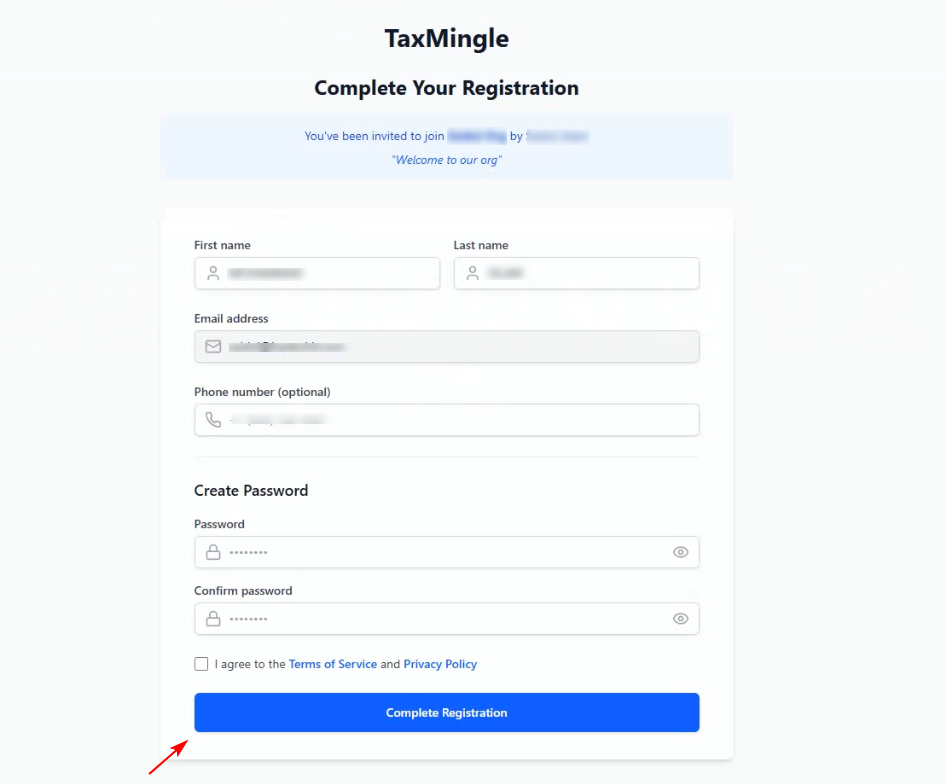
    TaxMingle gives clients control over their account settings, profile details, and security preferences. This guide walks you through updating your profile and setting up two-factor authentication (2FA) for enhanced security.

    1. Accessing Account Settings

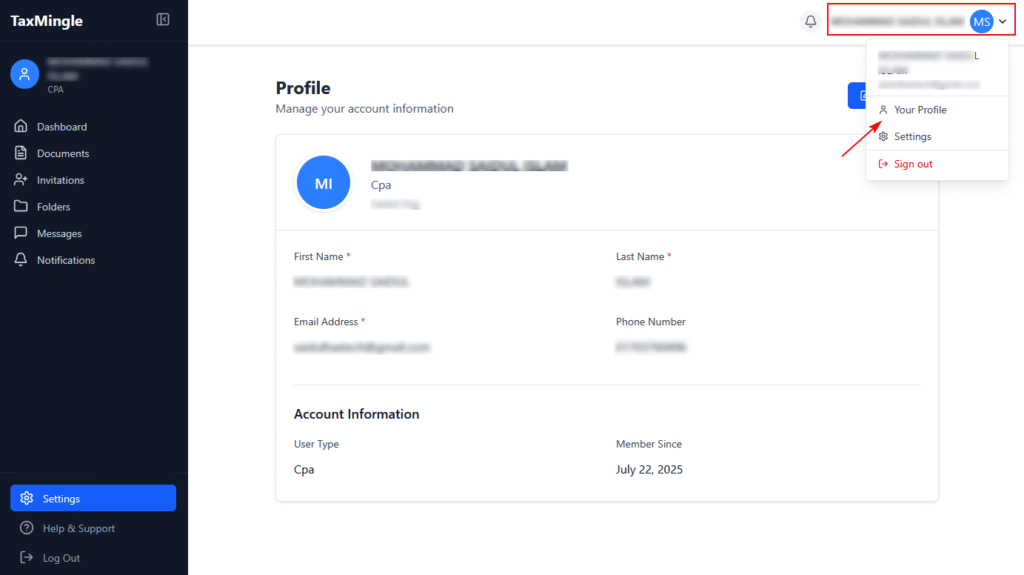
    To manage your profile or security settings:

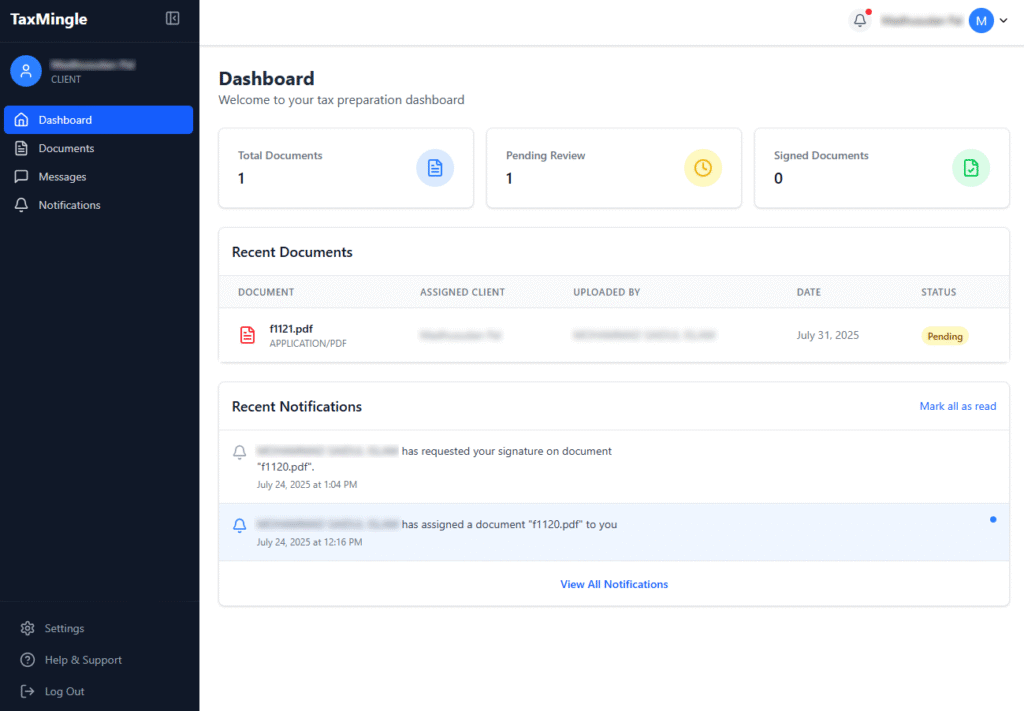
    1. Log in to your TaxMingle account.
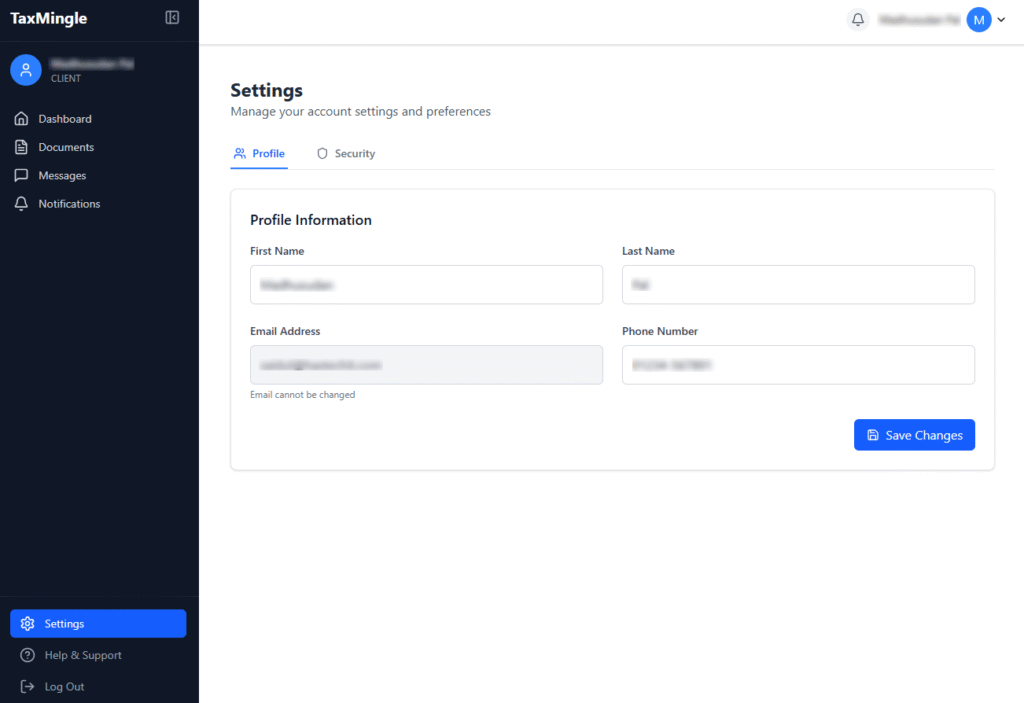
    2. From the left-hand sidebar, click on Settings.
    3. You’ll see two main tabs at the top: Profile and Security.

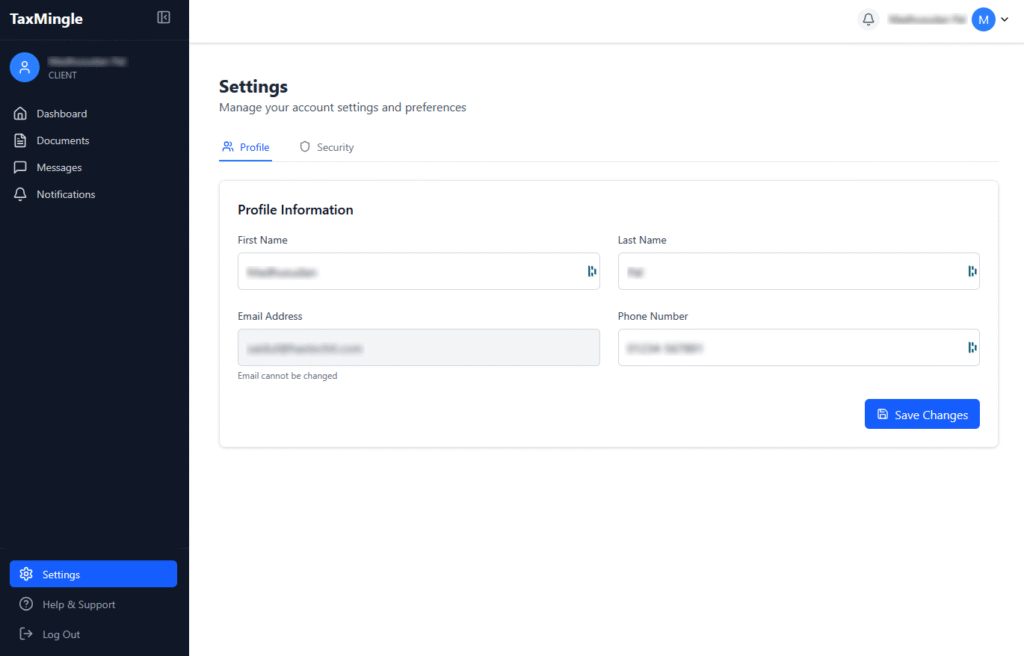
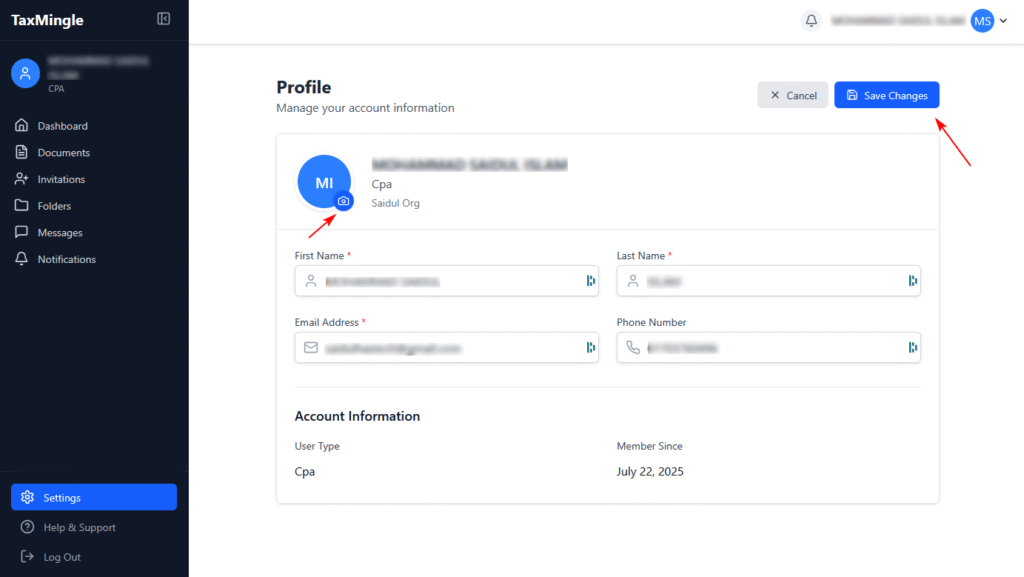
    2. Updating Your Profile Information

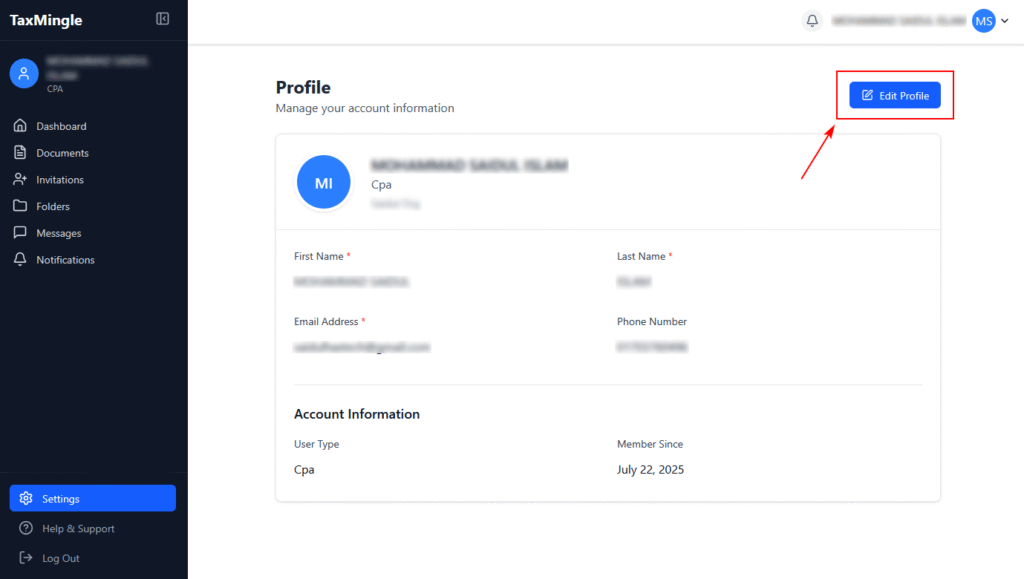
    To update your personal details:

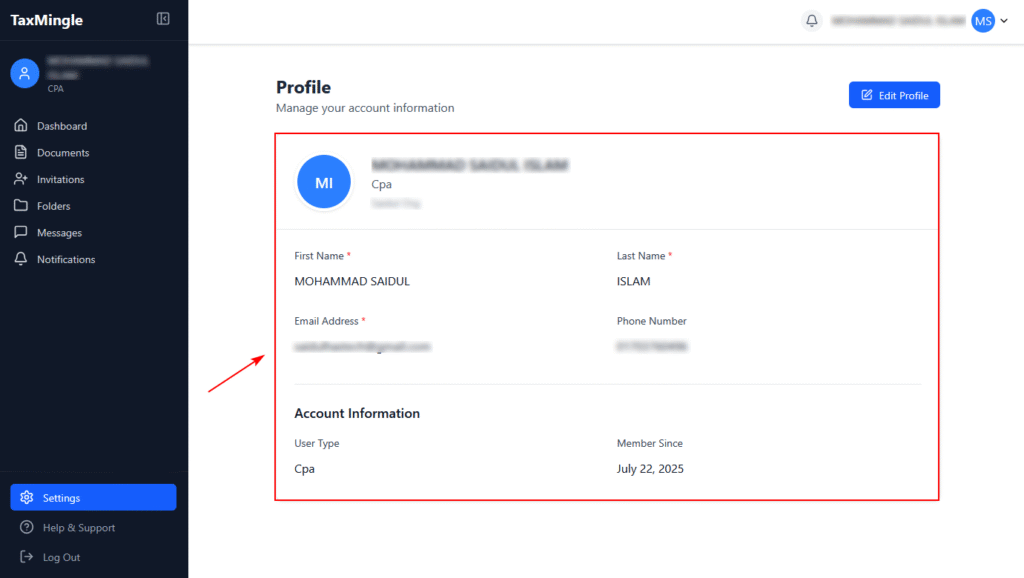
    1. In the Profile tab under Settings, you’ll find the Profile Information section.
    2. You can update the following fields:
      • First Name
      • Last Name
      • Phone Number
    3. Your Email Address is visible but cannot be changed.
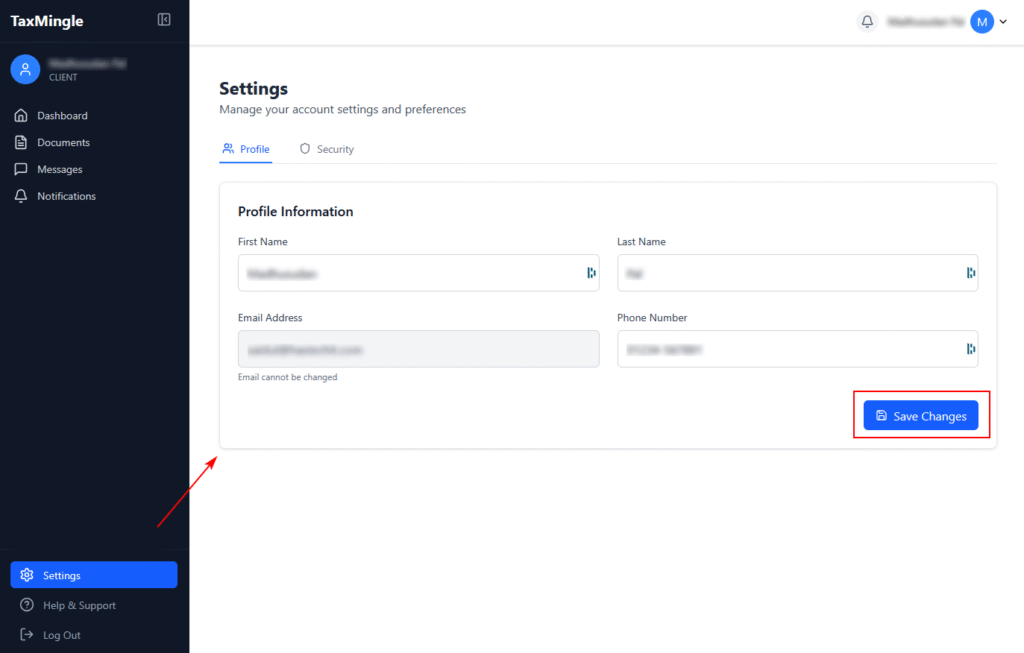
    4. After updating your information, click Save Changes to apply updates.
    5. Email address cannot be edited once registered.

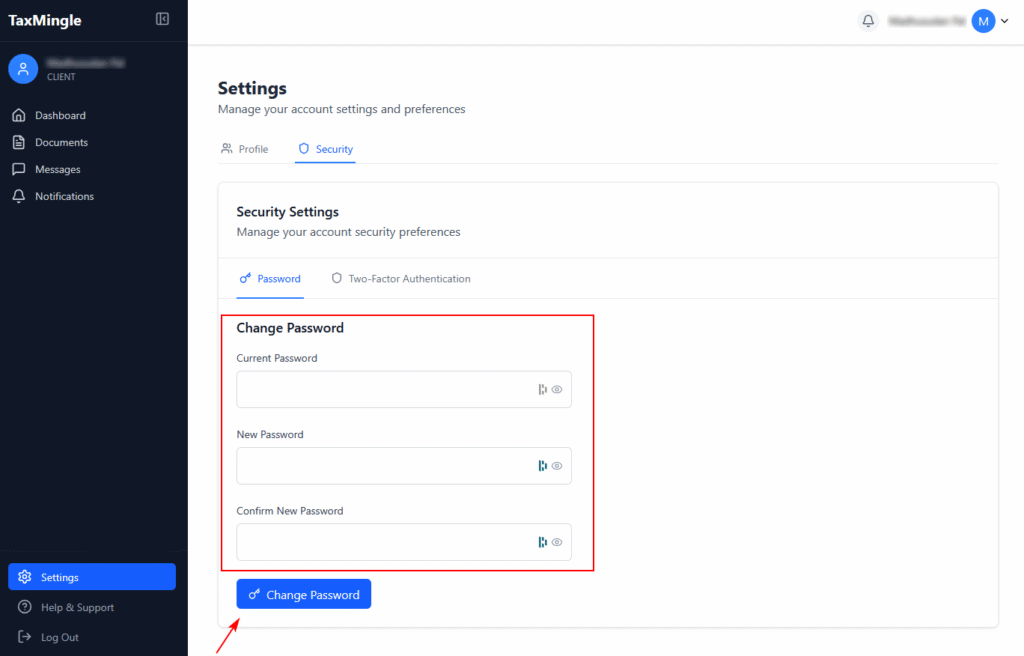
    3. Managing Security Settings

    Click on the Security tab under Settings to access password and 2FA options. You’ll see two sub-tabs:

    • Password
    • Two-Factor Authentication

    A. Change Your Password

    1. Go to the Password tab.
    2. Enter your Current Password.
    3. Enter a New Password.
    4. Confirm the new password.
    5. Click the Change Password button to update your login credentials.

    B. Enable Two-Factor Authentication (2FA)

    Two-Factor Authentication adds an extra layer of security by requiring a time-sensitive verification code from your mobile device, in addition to your password.

    Step 1: Initiate 2FA Setup

    1. Switch to the Two-Factor Authentication tab under Security Settings.
    2. Click the Enable 2FA button.

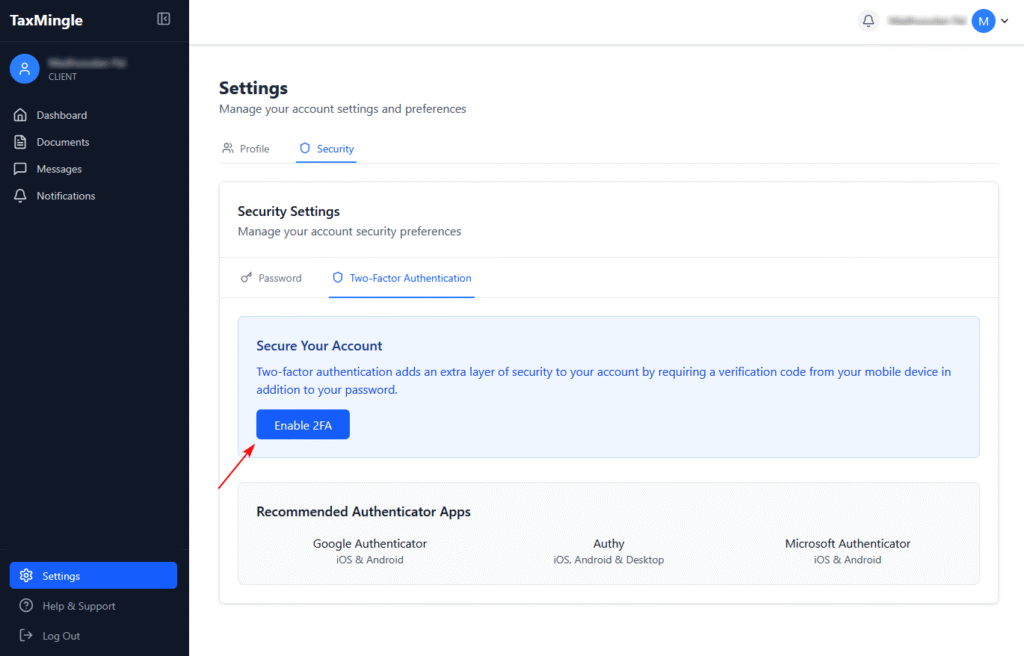
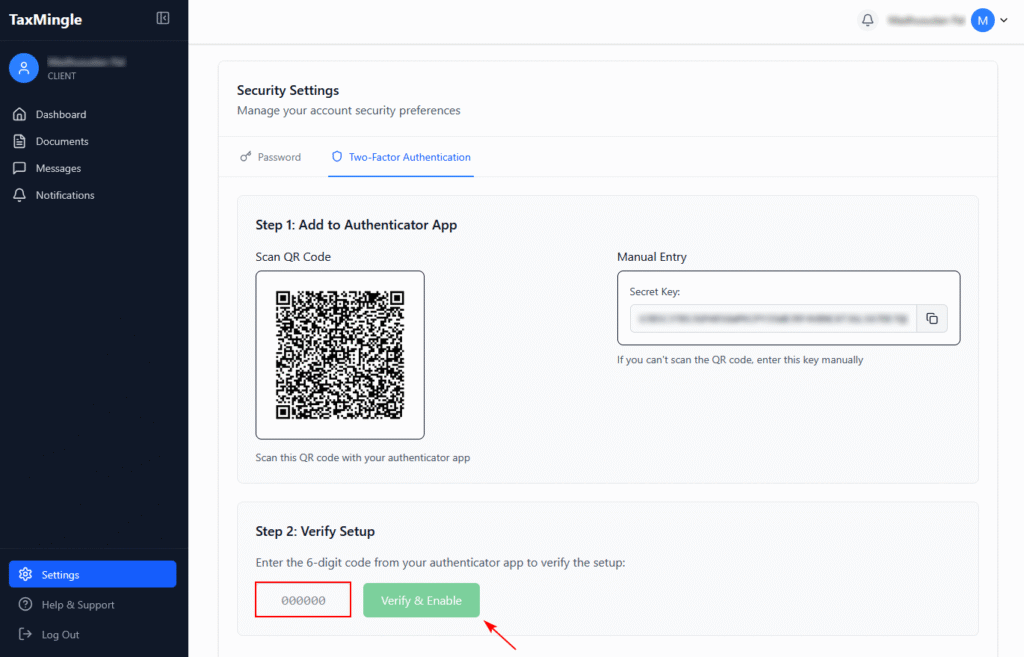
    Step 2: Add to Your Authenticator App

    1. Scan the QR Code using an authenticator app such as:
      • Google Authenticator (iOS & Android)
      • Authy (iOS, Android & Desktop)
      • Microsoft Authenticator (iOS & Android)
    2. Alternatively, you can manually enter the Secret Key displayed on-screen into your app.

    Step 3: Verify the Setup

    1. After scanning or entering the code, your authenticator app will generate a 6-digit code.
    2. Enter this code in the Verify & Enable field.
    3. Click Verify & Enable to complete the 2FA setup.
  • How to Manage Your Profile Settings in TaxMingle (CPA & Client)

    In TaxMingle, both CPAs and Clients can easily manage their account information through the Profile Settings section. This includes updating your name, email, and phone number.

    Step 1: Access Your Profile

    1. From the top-right corner of the dashboard, click on your name or avatar.
    2. In the dropdown menu, select Your Profile.

    This will open the Profile page where you can view and manage your account details.

    Step 2: View Your Account Information

    On the Profile page, you’ll see your:

    • First Name
    • Last Name
    • Email Address
    • Phone Number
    • User Type (e.g., CPA or Client)
    • Organization Name (for CPAs)
    • Member Since (account creation date)

    Step 3: Edit Your Profile

    1. Click the Edit Profile button on the top right of the Profile section.
    2. Update the fields you want to change (e.g., name, phone, email).
    3. Once done, click Save Changes to apply the updates.

    You can also update your profile picture by clicking on the avatar icon.

  • Overview of the Client Dashboard

    Once logged in, clients are welcomed into a clean, secure dashboard that puts everything their CPA has shared — documents, messages, and updates — in one place. The interface is designed to make reviewing tax documents, staying informed, and communicating with your CPA easy and stress-free.

    Below is a guided overview of the key sections you’ll find inside your TaxMingle dashboard:

    1. Client Dashboard Layout at a Glance

    2. Files Shared by Your CPA

    Under the Documents tab, clients can:

    • View all files shared by their CPA
    • Download or review documents
    • Respond to signature requests
    • Track which documents are pending or completed

    This section is updated in real-time as CPAs upload or assign files.

    3. Messages Tab

    The Messages tab allows clients to:

    • Chat directly with their CPA
    • Ask questions or request clarifications
    • Send secure responses without switching to email

    This keeps all communication centralized and secure within the platform.

    4. Notifications Panel

    The Notifications tab shows important updates such as:

    • New documents uploaded
    • Signature requests received
    • Messages from your CPA
    • Invitation status

    You can filter or mark notifications as read to stay organized.

    5. Profile & Settings

    Clients can access their profile settings to:

    • Update their name, email, or password
    • Enable two-factor authentication (2FA)
    • Manage notification preferences
  • How to Log In as a Client

    After registering your account on TaxMingle, logging in is simple and secure. Follow the steps below to access your dashboard.

    Step 1: Open the Login Page

    Visit the official TaxMingle login page:
    👉 https://app.taxmingle.com/login

    You can also access this link from the welcome email you received during registration or from your CPA’s invitation.

    Step 2: Enter Your Credentials

    • Enter the email address associated with your TaxMingle account.
    • Enter your password.
    • Click the Log In button.

    Note: If two-factor authentication (2FA) is enabled, you’ll be prompted to enter the verification code sent to your registered device.

    Step 3: Access Your Dashboard

    Once logged in, you’ll be redirected to your personal client dashboard where you can:

    • View and manage shared documents
    • Sign pending files
    • Send and receive messages
    • Track notifications and updates from your CPA

    Trouble Logging In?

    If you’ve forgotten your password, use the Forgot Password link on the login page to reset it.
    For any other issues, reach out to TaxMingle Support.

  • Accepting a CPA Invitation

    If you’ve received an invitation to join a CPA organization on TaxMingle, follow these simple steps to accept and activate your account.

    Step 1: Check Your Email

    Look for an invitation email from TaxMingle with the subject line similar to “You’ve been invited to join a CPA organization on TaxMingle.”
    Click the secure invitation link provided in the message.

    Step 2: Set Up Your Account

    Once the link opens in your browser:
    Click on Invite Client, then:

    • You’ll be directed to a registration or login screen (depending on your existing status).
    • If you already have a TaxMingle account, log in using your credentials.
    • If you’re new, follow the prompts to complete your registration (name, email, and password setup).

    Step 3: Confirm Your Access

    After logging in or registering:
    You can:

    • You’ll be added to the CPA organization that invited you.
    • Your dashboard will update to reflect your new access.
    • You’ll be able to view shared documents, receive messages, and begin collaborating with your team.

    Need Help?

    If the link has expired or you’re having trouble accessing the invitation, please contact TaxMingle Support for assistance.